Tracking add-to-cart is important since it provides you with insights into how well your online store is working.
This blog will explain to you why you should measure these metrics as well as provide an easy-to-follow guide to tracking your add-to-cart rate with Simple Analytics.
Why is tracking add to cart important?
By tracking add to cart, you can measure the following:
- how many times the add to cart button is clicked
- how many products are added to carts
- how many times users explore product pages but do not add an item
- how many customers add at least one thing to their cart each time they visit your site.
Monitoring and analyzing this data can provide valuable insights into the effectiveness of your campaigns, product pages, pricing, and overall user experience.
With this you can demonstrate how successfully the website converts visitors into potential purchasers.
You can also improve your site and optimize it to enhance your marketing efforts and increase your conversion rate.
How to use Simple Analytics track add to cart
Install the Script
Start by creating your account on Simple Analytics (if you haven't done this already). This will prompt you to add your website and install the script onto your website.
This is really easy and works the same as if you would add Google Analytics to your websites. The script enables Simple Analytics to start tracking page views on your website.
Add events on your form
Once the script it added, you’ll have to add events onto your “add to cart” button so that Simple Analytics can track each submission.
For starters, here’s how the form HTML should look like. If you only have access to the HTML, this is the way:
<form onsubmit="sa_event('add_to_cart_clicked'); return true;">
  <!-- Your form inputs like product options, quantities, etc. -->
  <button type="submit">Add to Cart</button>
</form>
If you can separate your JavaScript and HTML, it is better. For example, when our script doesn't load, it does not affect your form submissions:
<form id="form123" class="green">
  <!-- Your form inputs like product options, quantities, etc. -->
  <button type="submit">Add to Cart</button>
</form>

<script>
document.addEventListener('DOMContentLoaded', function() {
  // Search for forms after page load with id=123 or class=green
  var forms = document.querySelectorAll('form.green, form#form123');

  forms.forEach(function(form) {
    form.addEventListener('submit', function(event) {
      if (typeof sa_event === 'function') {
        sa_event('add_to_cart_clicked');
      }
    });
  });
});
</script>
Test & Access Event Data
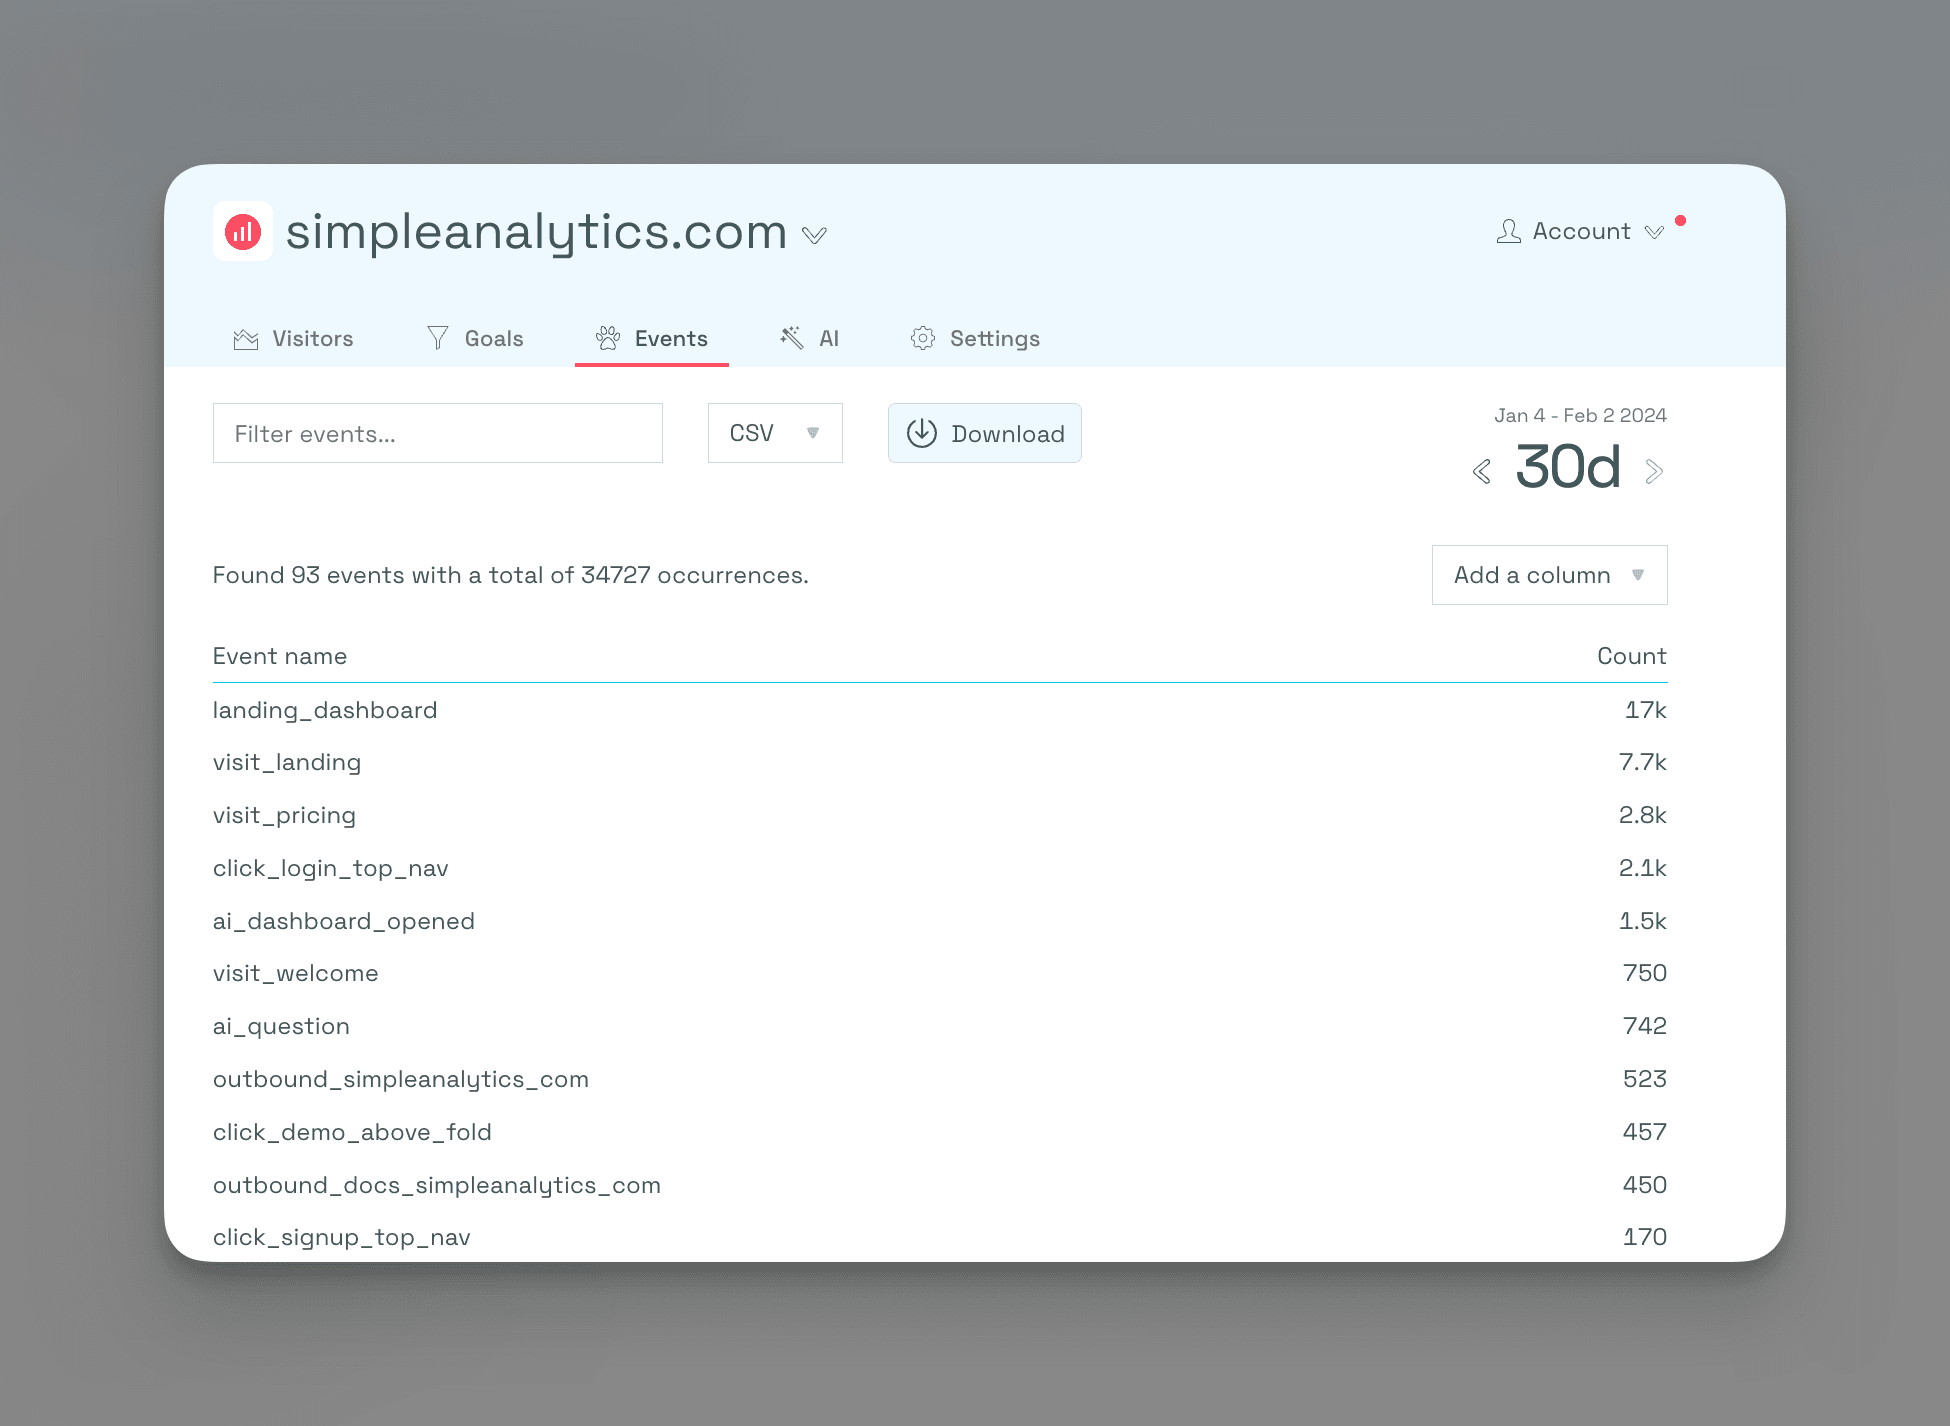
Now that you have started collecting “add to cart” button clicks, head over to your website’s Simple Analytics dashboard.
Then click on the events tab, and you should be able to see all your events there, including the ones you added.

Create Goals
Next is the final and most important step, and that is start visualizing your metrics using our “goals” feature.
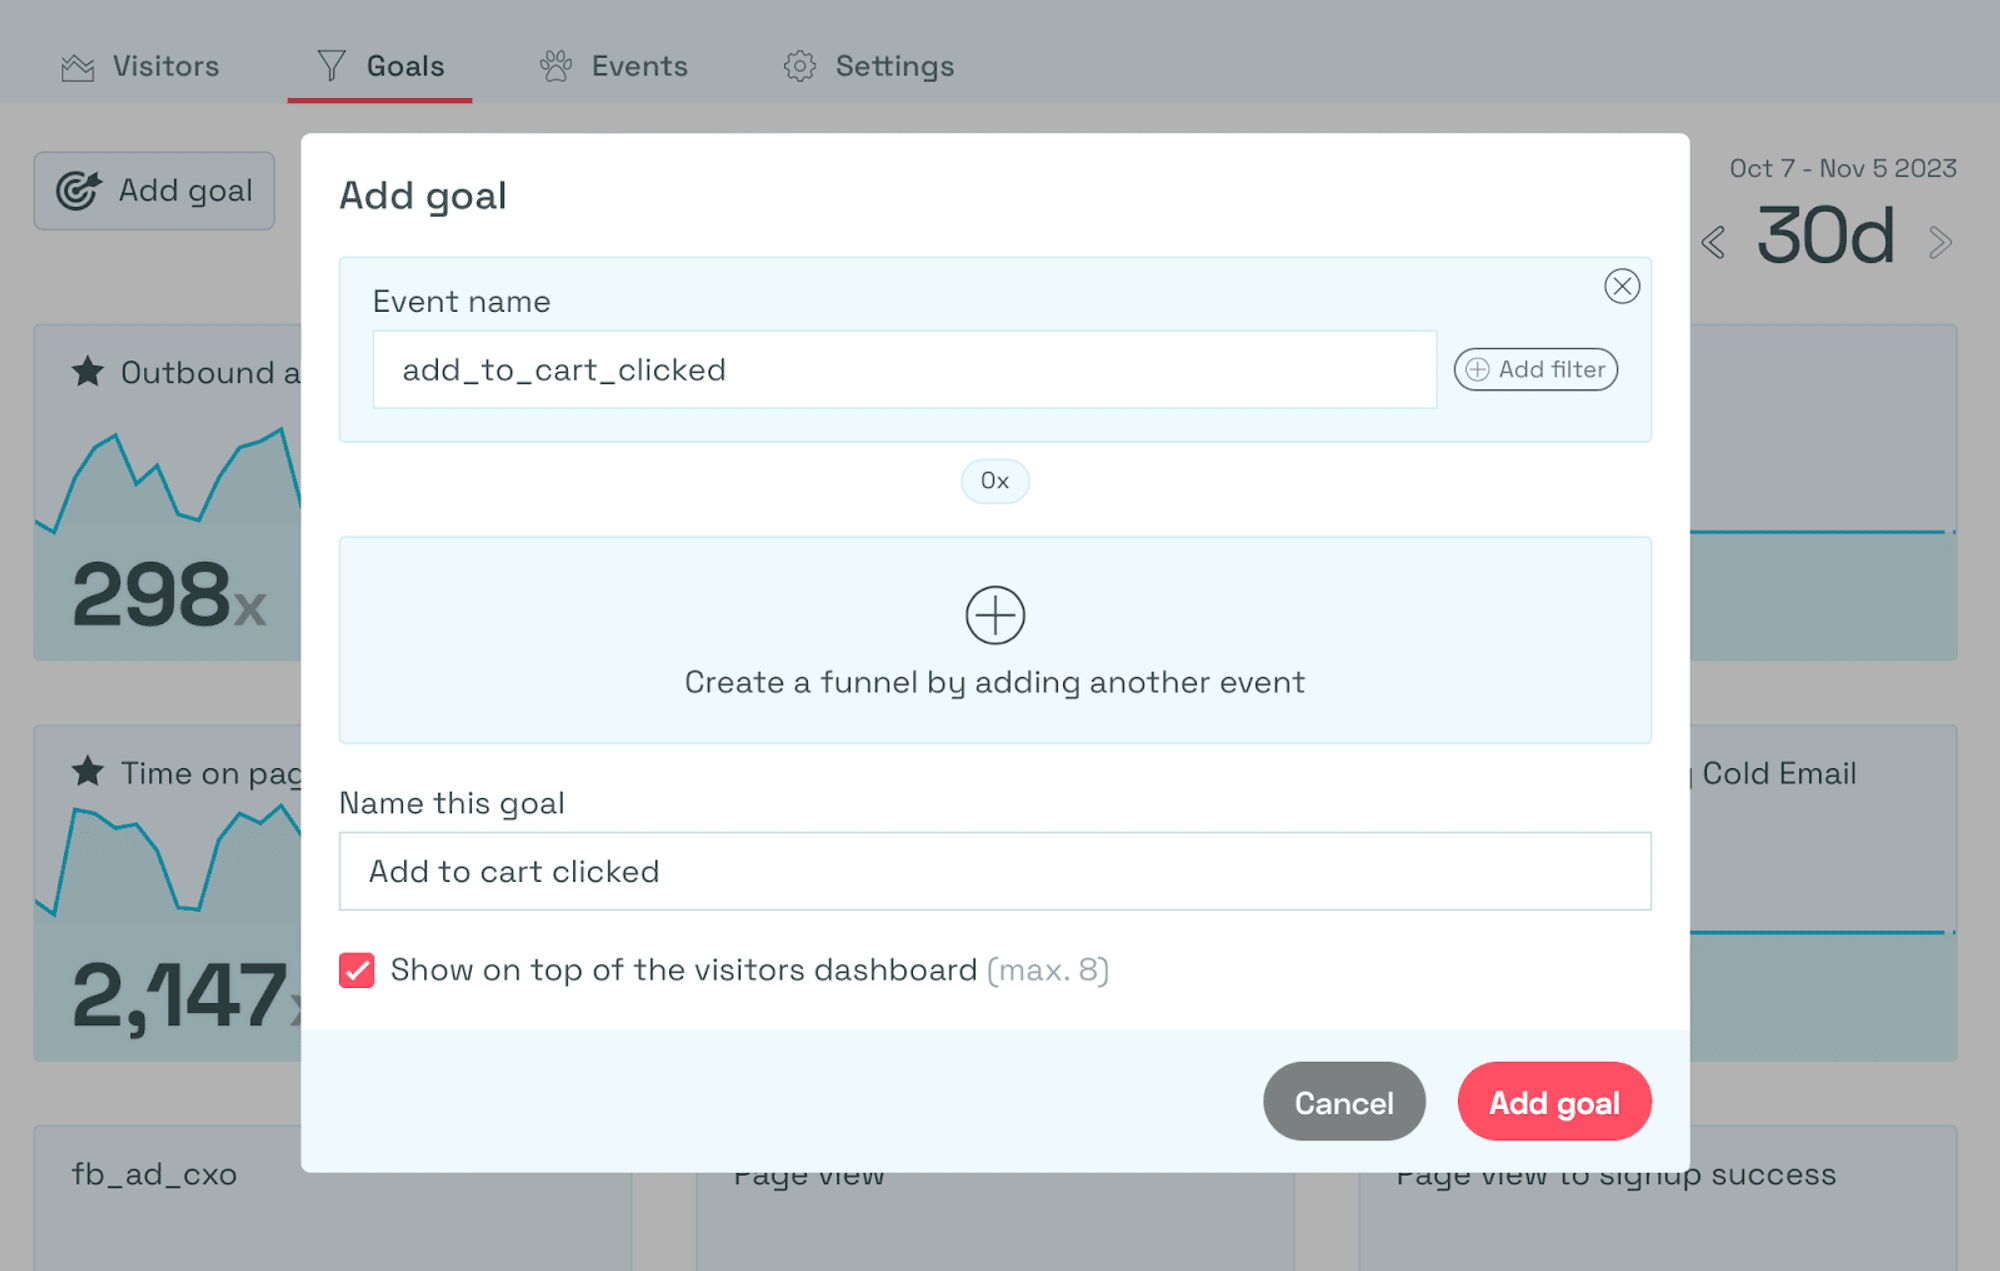
To effectively measure add to cart, create the goals based on the event triggered:
- Define the goal: Give it a name like “Add to cart clicked”
- Set the event: Choose the event “add_to_cart_clicked”
- Mark the goal as important: Ensure it appears in the visitor dashboard for easy tracking.

By creating the goal, you can monitor your “add to cart” button clicks with ease.
Conclusion
Finally, by tracking add to cart, you can learn how potential buyers interact with your eCommerce site and how well your product pages convert visitors into purchases.
There are many tracking tools available, but with Simple Analytics this is super easy to set up.
At Simple Analytics we believe in an independent internet that is friendly to website visitors. If this resonates with you, feel free to give us a try!
